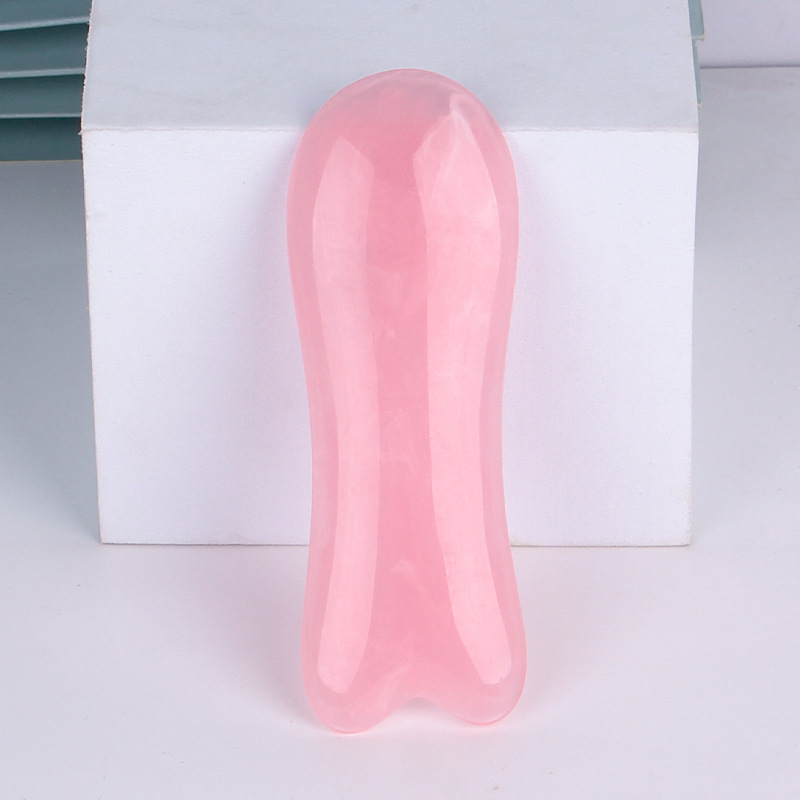
Ergonomic Gua Sha Wand
Price range: $6.99 through $29.00
Precision massage for the small details of your routine.
This ergonomic resin gua sha wand features easy-grip, multi-shape options for gentle massage around the brows, temples, cheeks, jawline and selected body areas—with a follow-along home video guide.
Description
Small tool.
Focused ritual.
An ergonomic resin massage wand made for precise, gentle movement around the eye contour, brows, temples, cheeks and other smaller areas where a traditional flat gua sha board can feel too wide.
Ergonomic Gua Sha Wand for Precision Face Massage
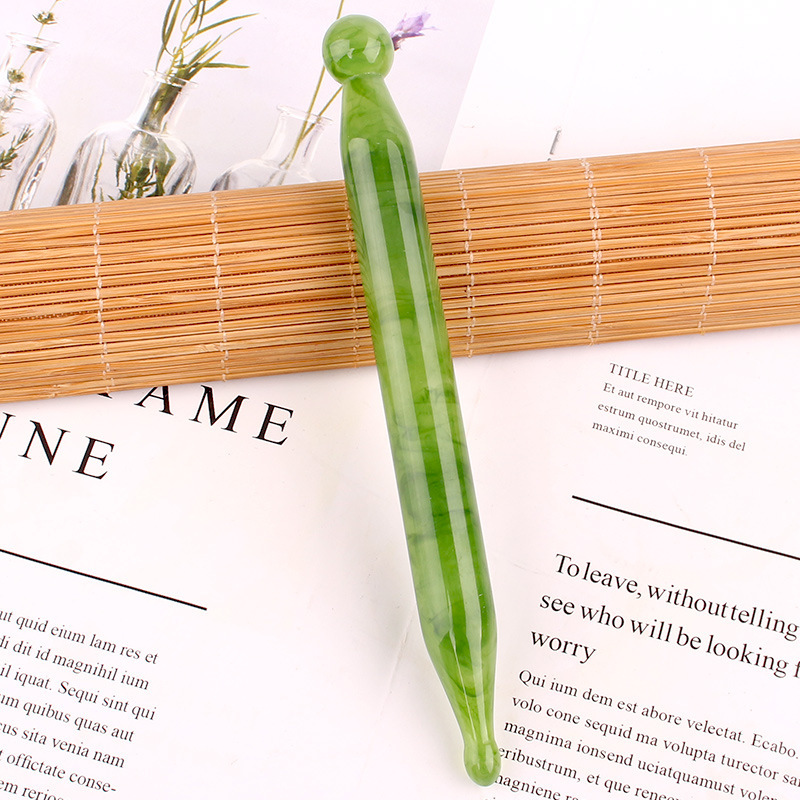
This Ergonomic Gua Sha Wand is designed for gentle, controlled face massage around detailed areas such as the brows, temples, cheeks and jawline. Its slim resin shape provides a comfortable grip and more focused contact than a traditional flat gua sha board.
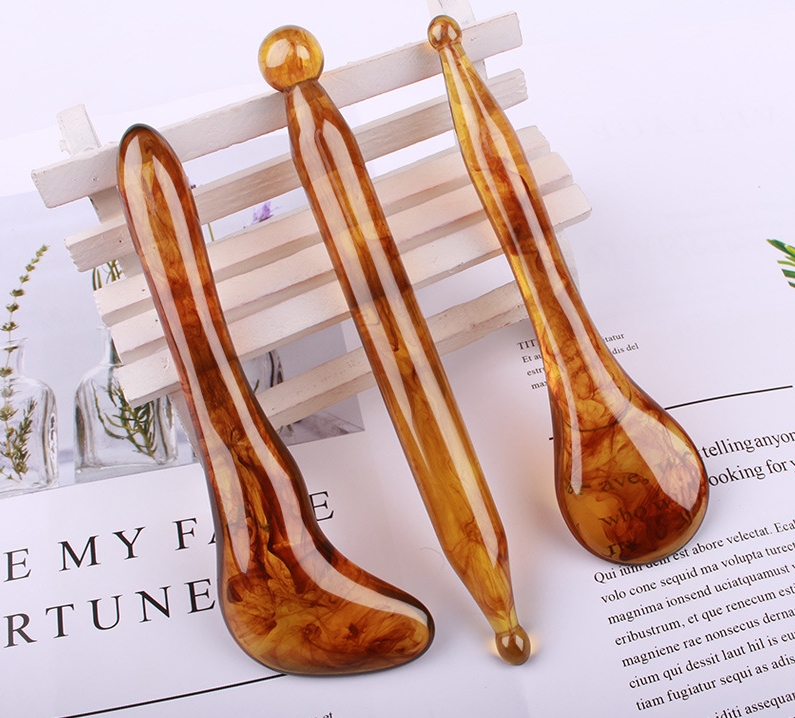
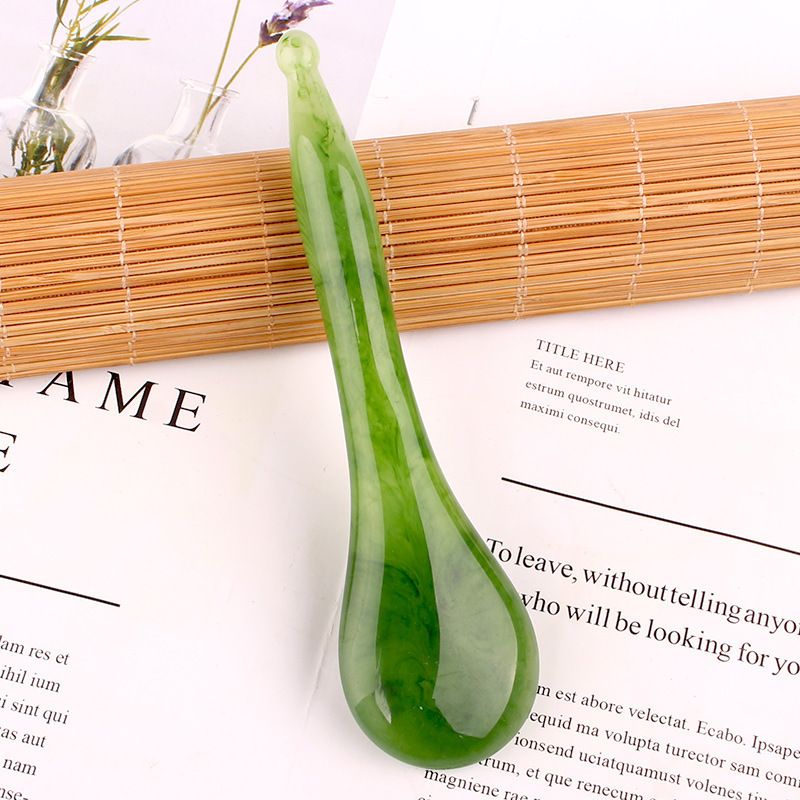
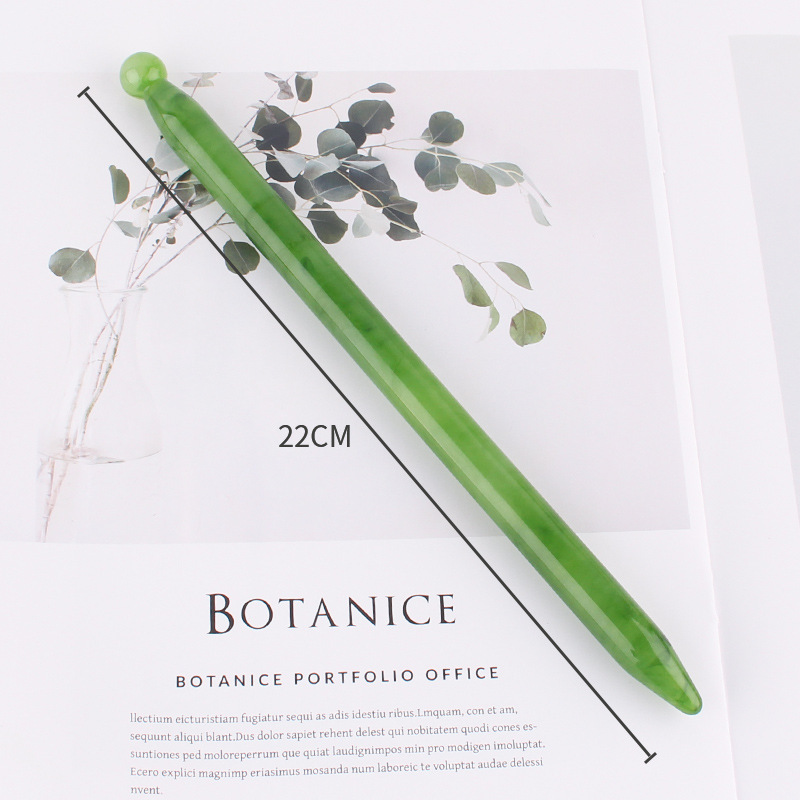
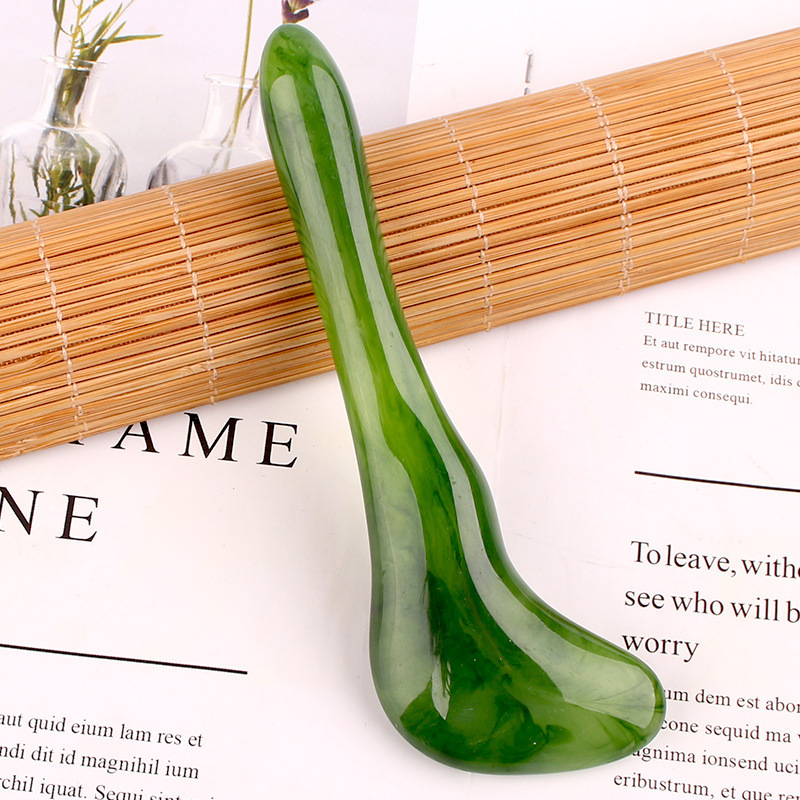
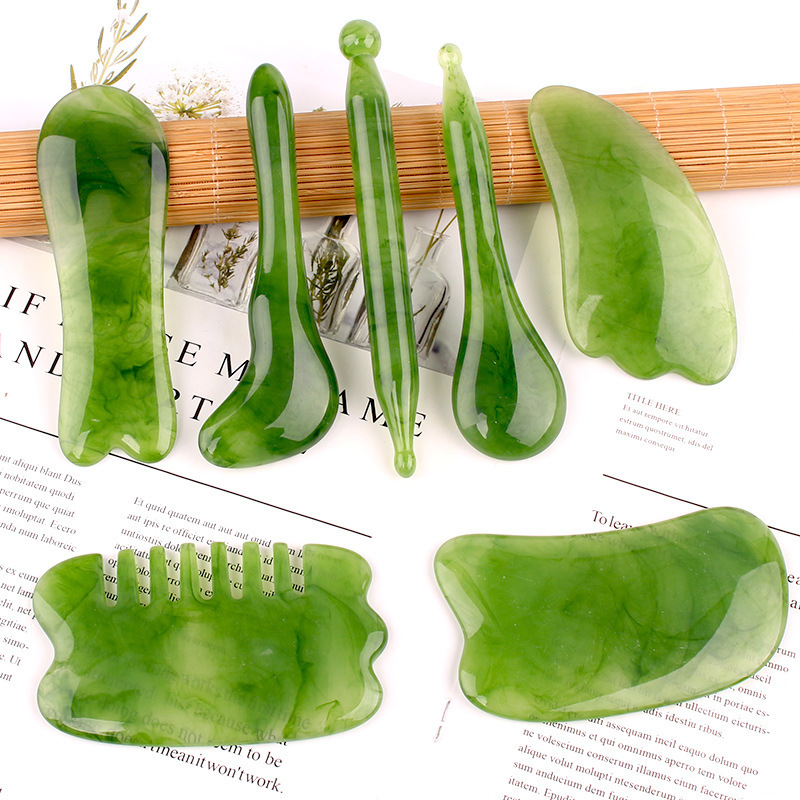
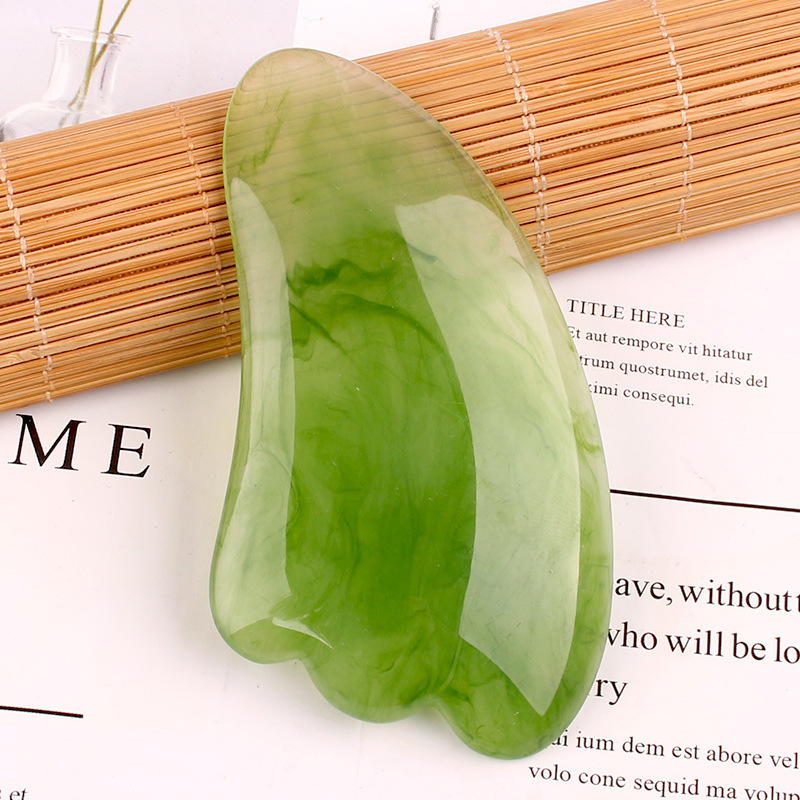
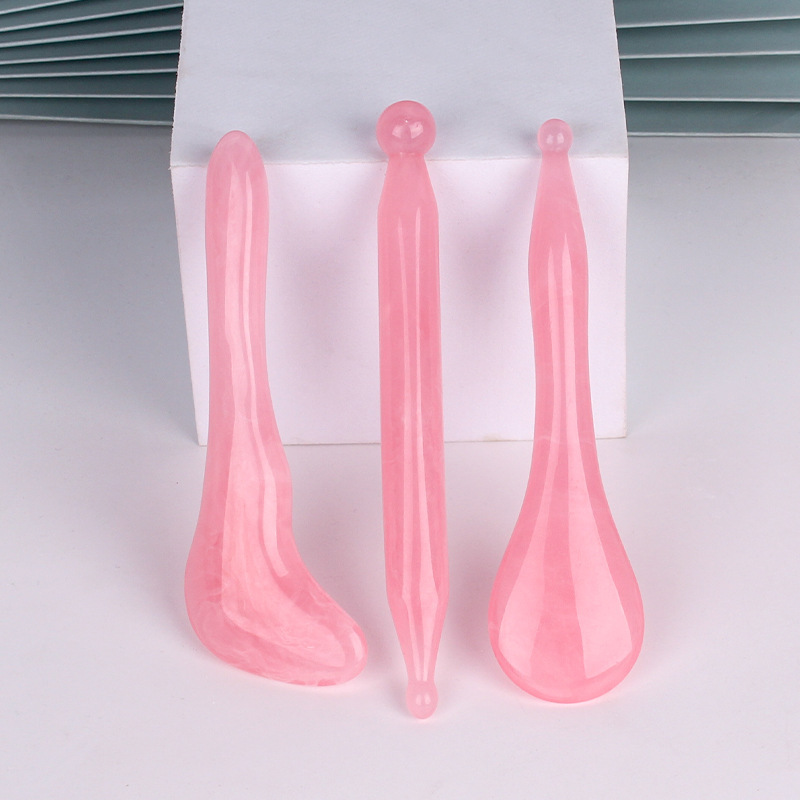
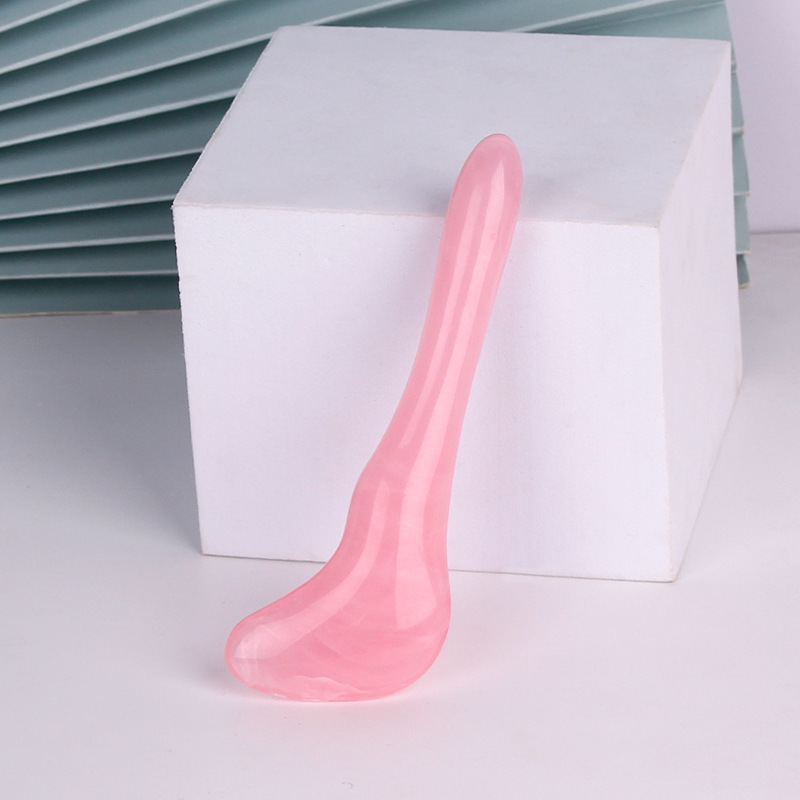
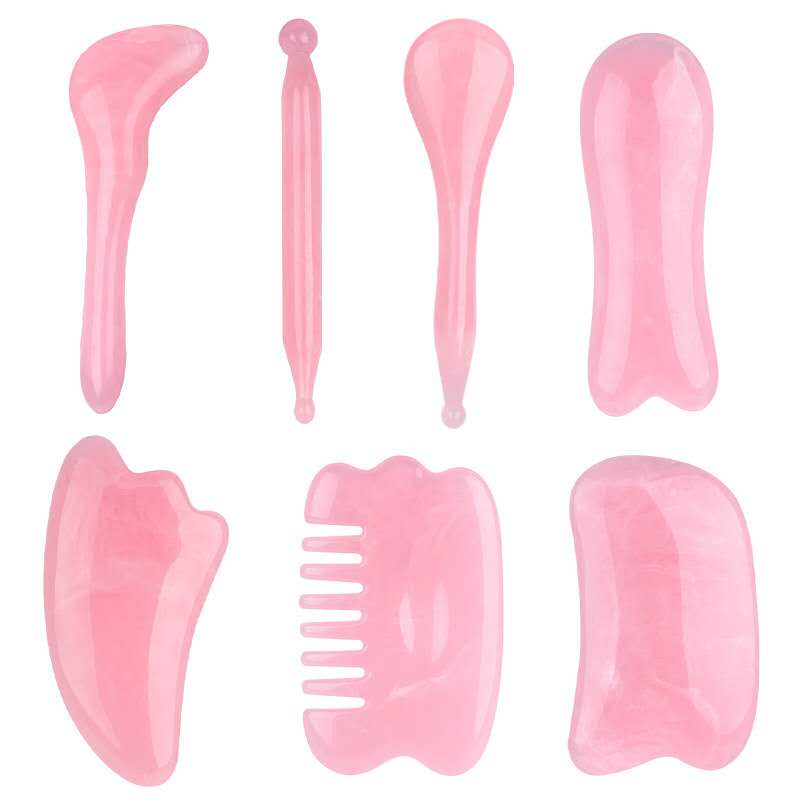
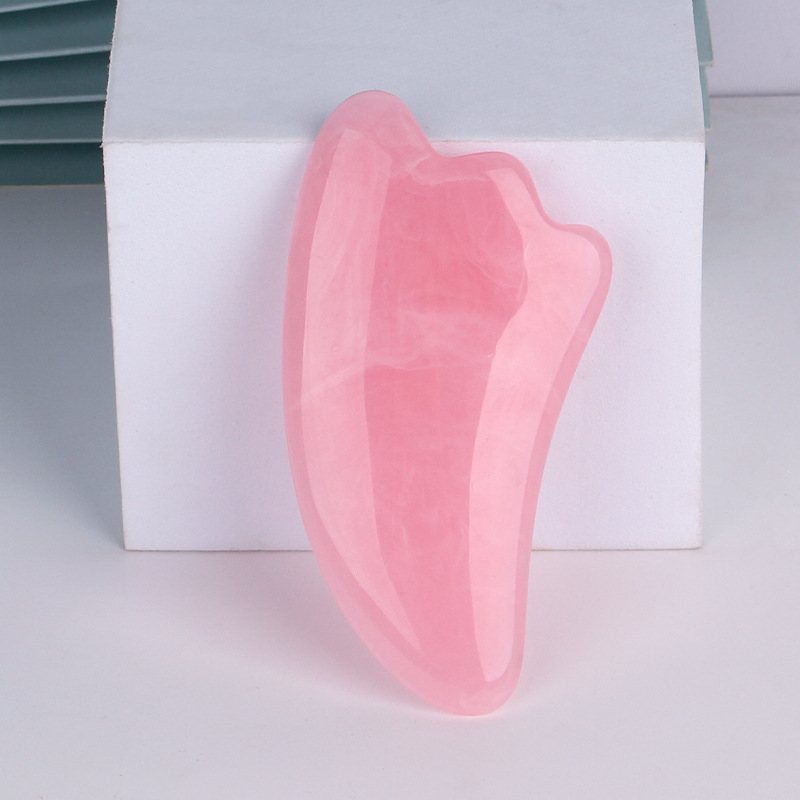
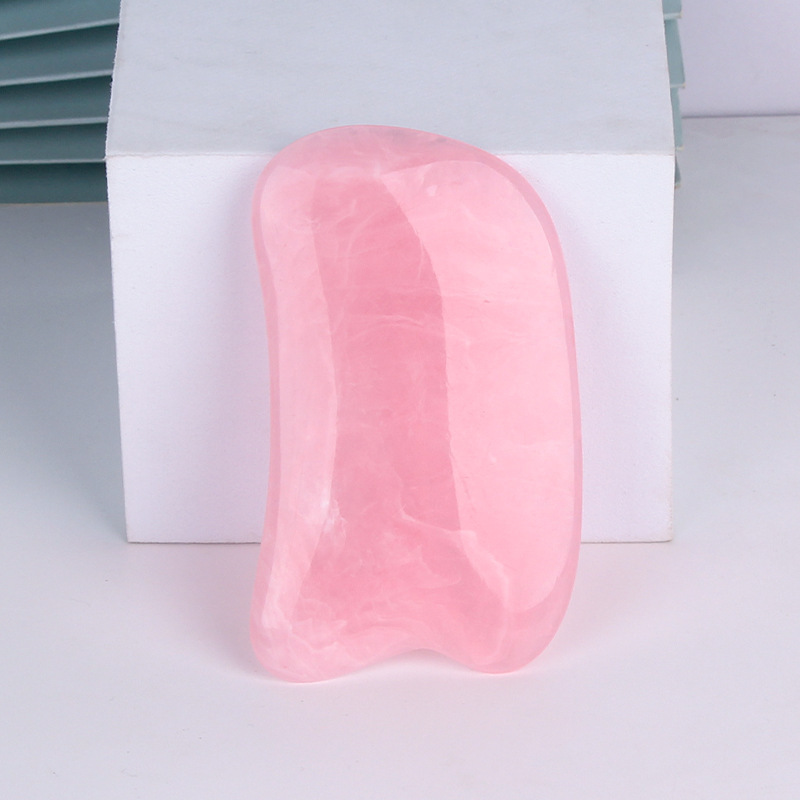
Choose from multiple shapes to match your preferred massage routine, from broader gliding movements to smaller, more precise contact points.
Reach the details with less guesswork.
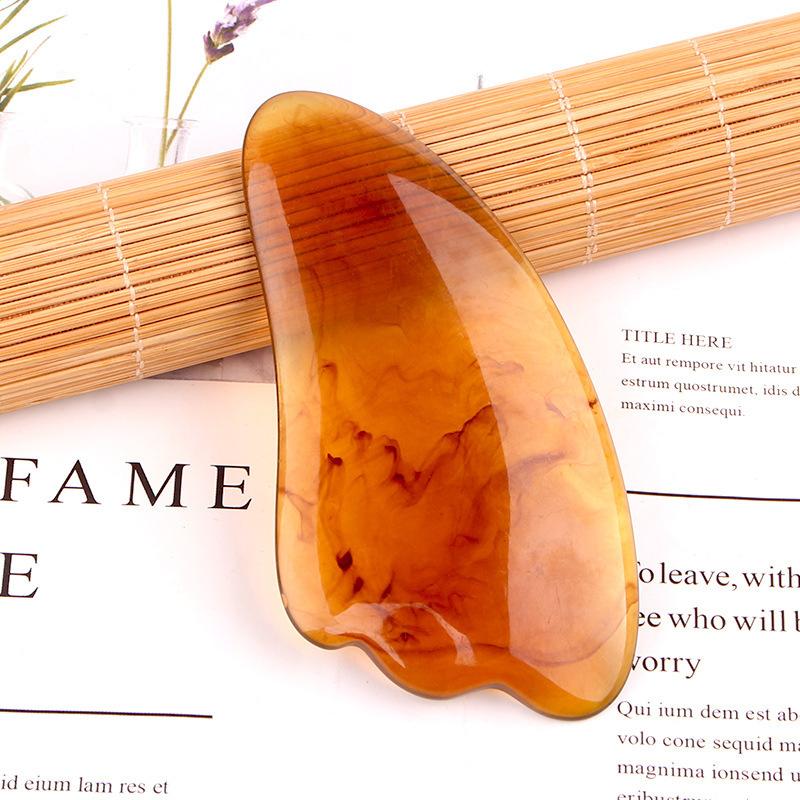
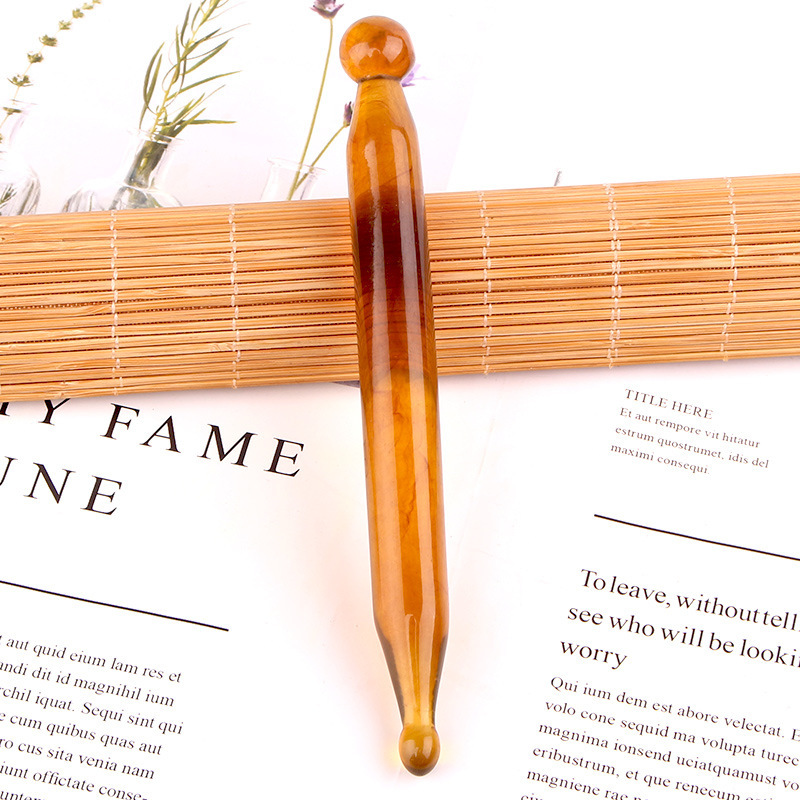
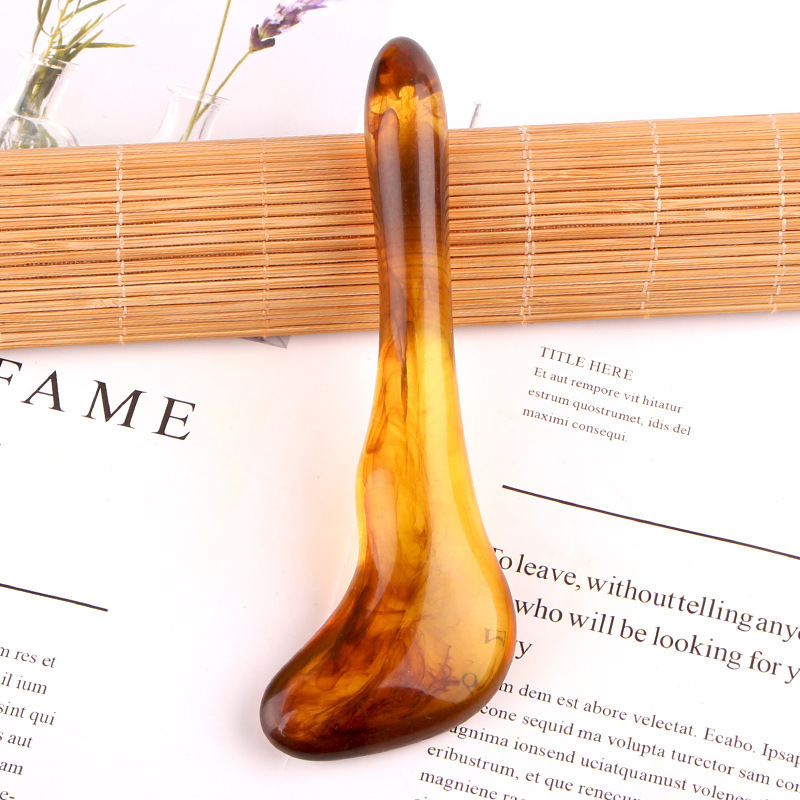
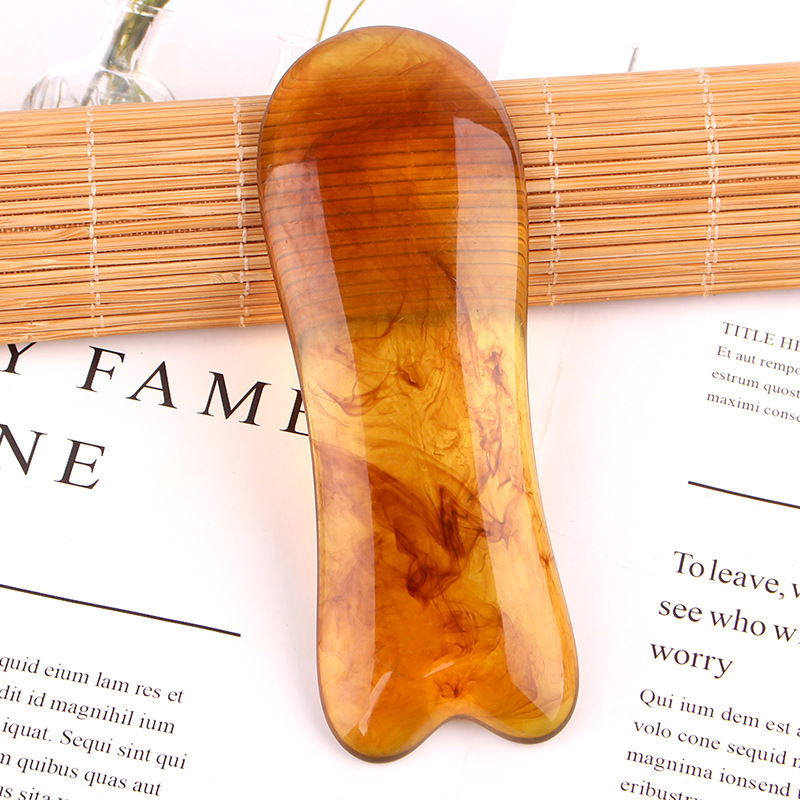
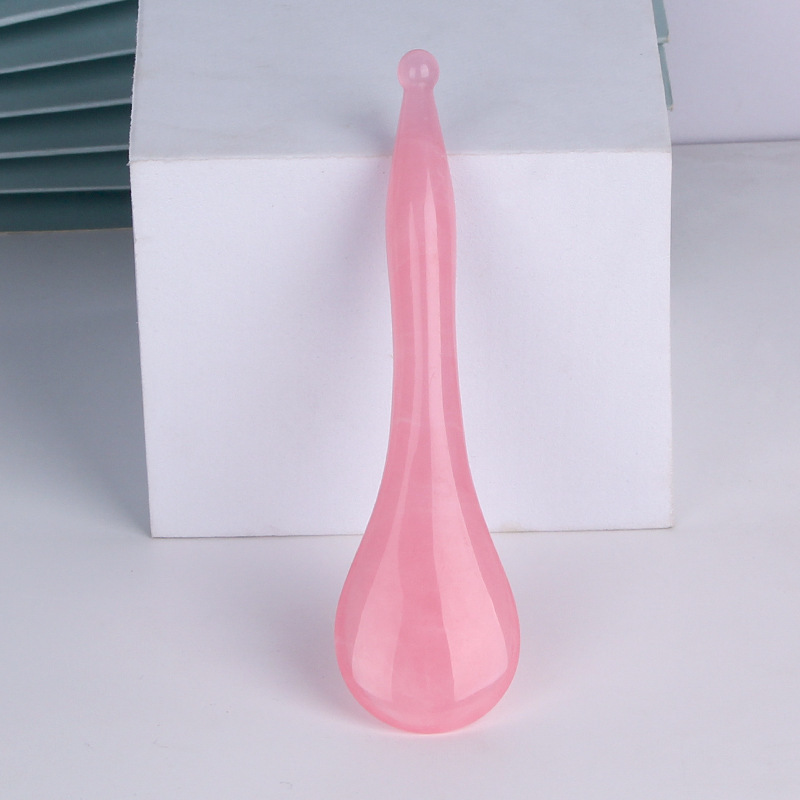
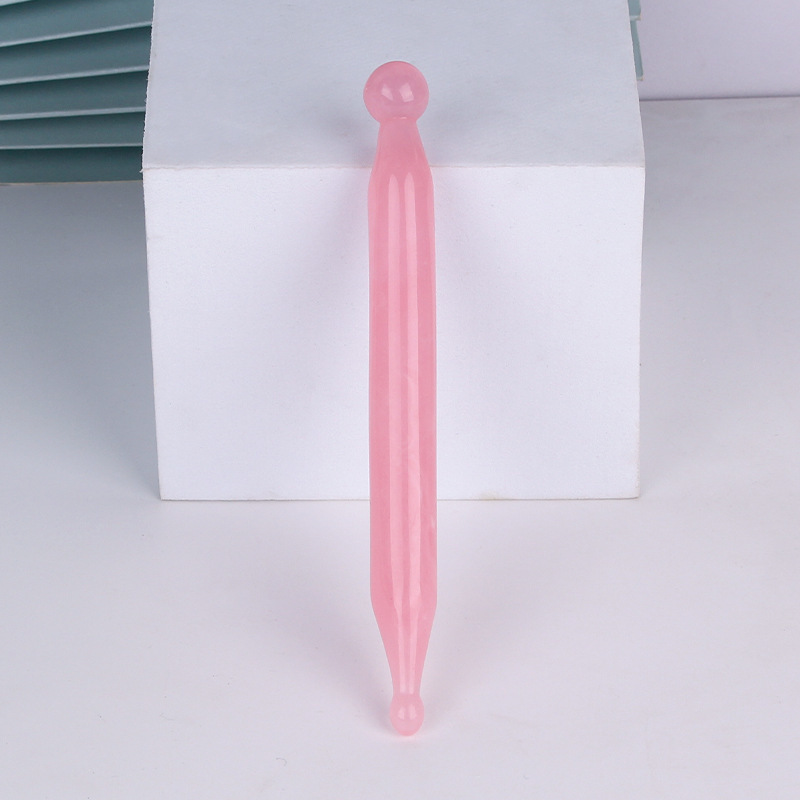
The slim, easy-grip form gives you more control than a large scraping board. Choose the shape that best suits the movement you want—from broad rolling contact to a rounded precision tip.
Ergonomic hold
The compact wand rests naturally between the fingers for slow, controlled movement.
Targeted contact
Rounded and tapered forms help navigate the brow bone, temples, jaw and sides of the nose.
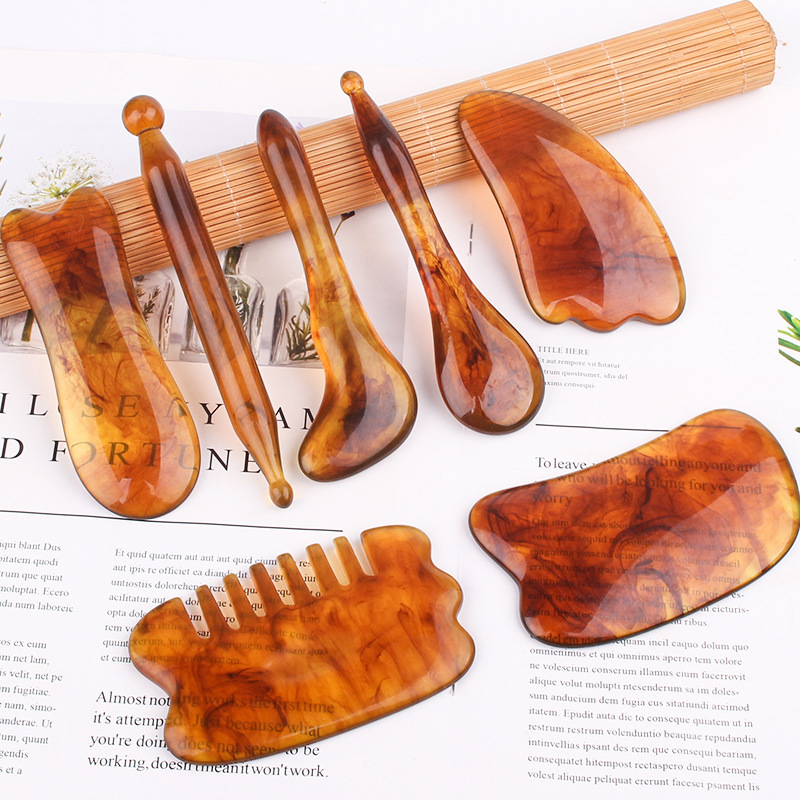
Nine type options
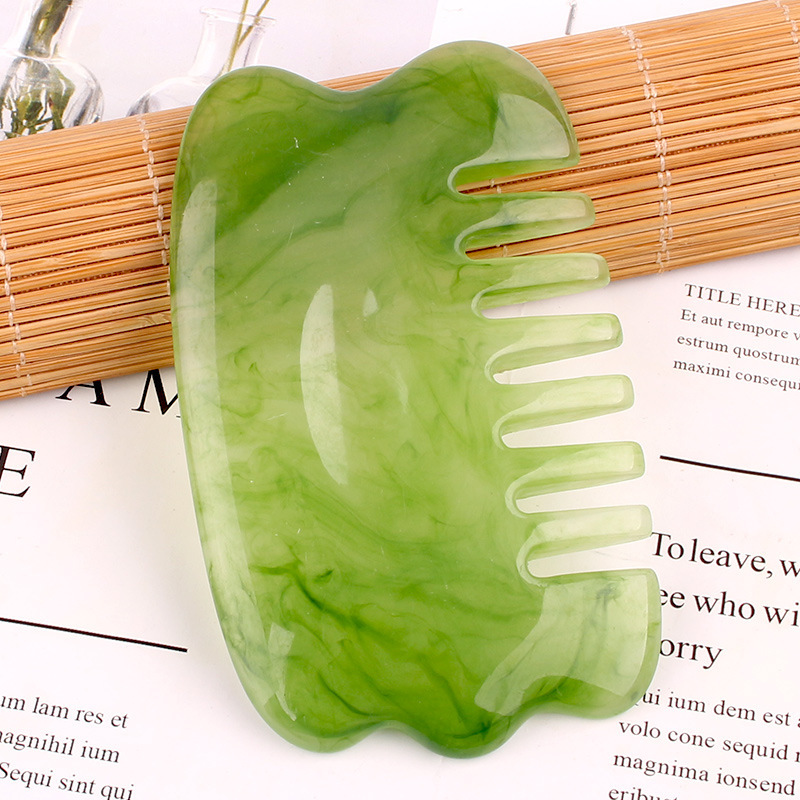
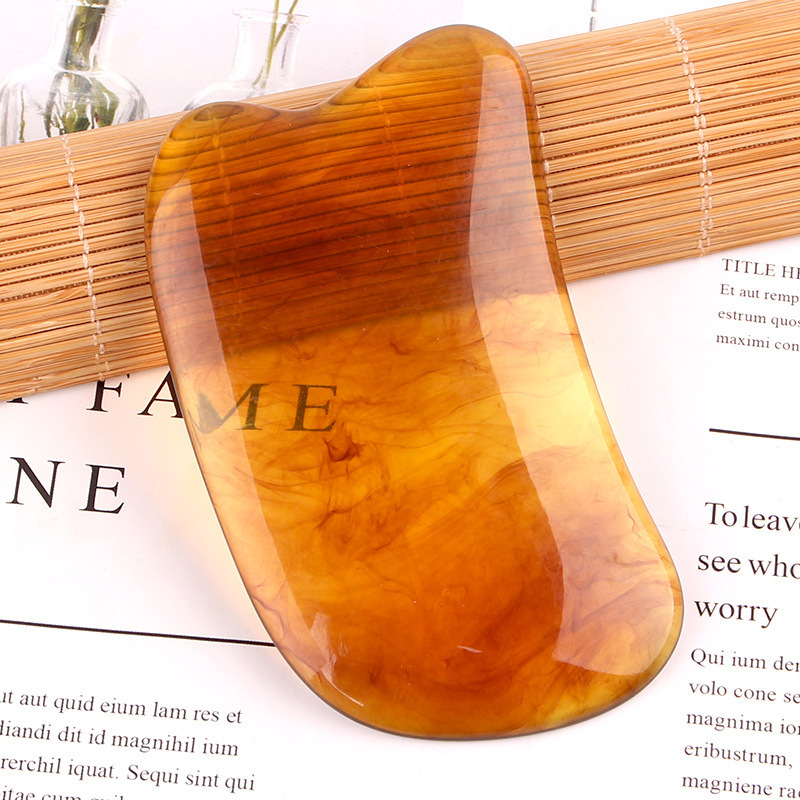
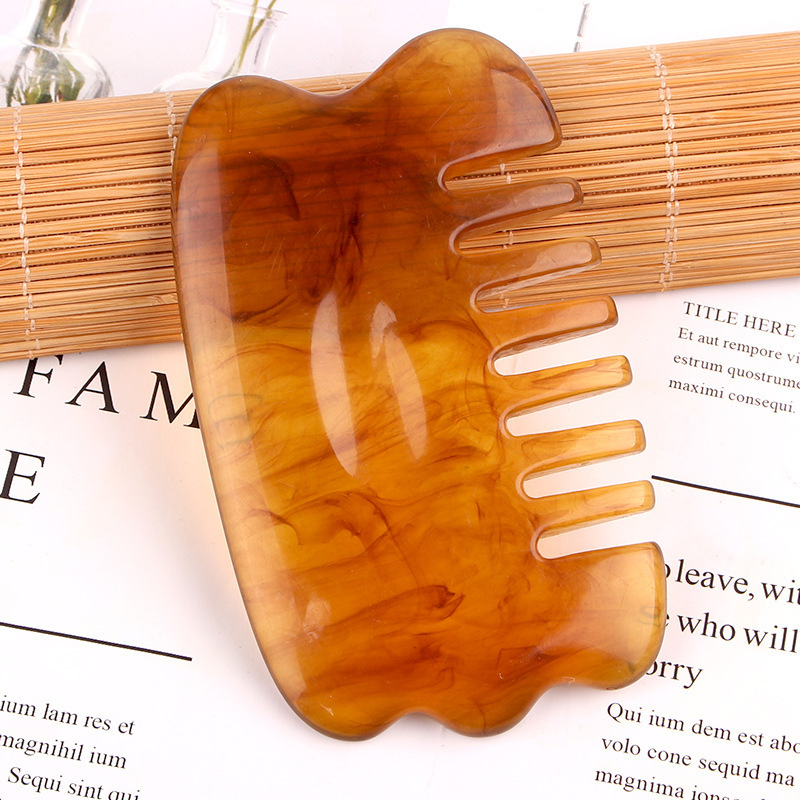
Select from the available shapes above. Each option offers a different balance of precision and surface contact.
Different forms for different hands.
The color and shape selector above the Add to Cart button shows the currently available combinations.
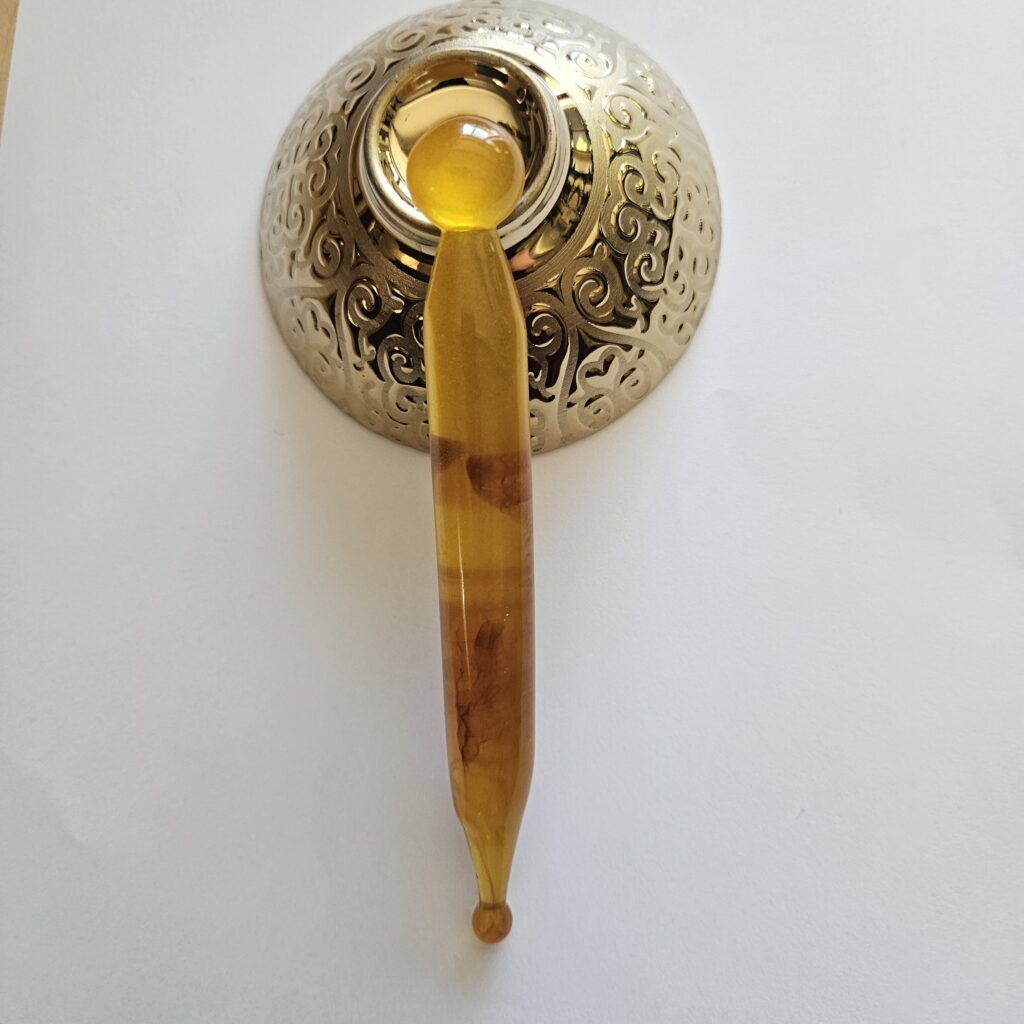
Learn the glide before adding pressure.
Follow this at-home facial gua sha tutorial to understand preparation, direction and pace. Use the ergonomic wand with the same light-touch principles, adjusting the contact point to match your selected shape.
How to Use an Ergonomic Gua Sha Wand
An Ergonomic Gua Sha Wand is designed for controlled massage across areas such as the cheeks, jawline, temples and brow area. Use gentle pressure and smooth movements to create a comfortable facial massage routine. Choose the shape that best fits the area you want to massage.
Third-party educational video. It demonstrates general facial gua sha technique and is not a medical tutorial.
Keep every movement light and intentional.
CleanseStart with clean skin, clean hands and a freshly washed tool.
Add slipApply a compatible eye serum, facial oil or cream so the wand never drags dry skin.
Choose an endUse a rounded area for broader glides and a smaller end for controlled detail work.
Glide outwardMove slowly with feather-light pressure. Repeat each path two to five times.
Clean + dryWash with mild soap, dry completely and store away from heat and direct sunlight.
Precision where you want it.
- Brow bone: glide gently from the inner brow toward the temple without touching the eyeball.
- Under-eye orbital bone: use extremely light outward strokes along the bone—not directly beneath the lashes.
- Temples: rest or make slow, small circles without pressing hard.
- Cheeks: glide from beside the nose toward the ear over well-lubricated skin.
- Jaw: follow the jawline from the chin toward the ear with controlled contact.
- Small body areas: use the rounded form for gentle massage on hands, forearms or shoulders.
Let the shape match the ritual.
Rounded shapes
Best when you prefer softer contact for temples, brows and smaller facial zones.
Long wand shapes
Offer a balanced grip for cheek, jawline, neck and controlled body massage.
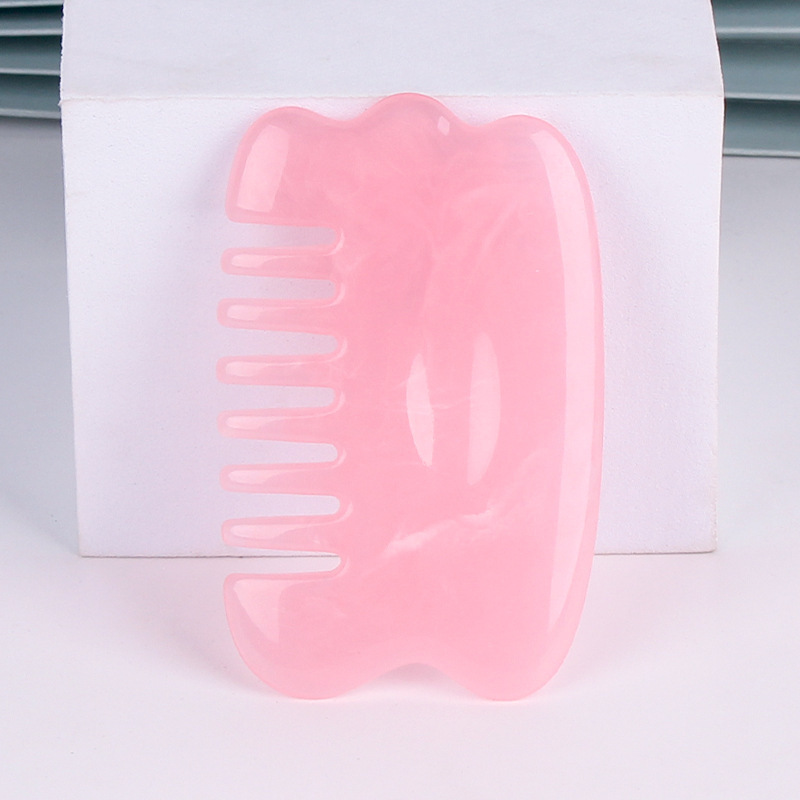
Textured or detailed shapes
Create a different tactile feel. Begin slowly and use only comfortable pressure.
Eye-area safety matters
- Never press on the eyeball, tear duct or lash line.
- Keep the eye fully closed when working near the upper orbital area.
- Do not use on broken, irritated, sunburned or actively inflamed skin.
- Stop immediately if you experience pain, blurred vision, dizziness, numbness or persistent irritation.
- Ask a qualified clinician before use if you have an eye or skin condition, take blood-thinning medication, are pregnant, or recently had cosmetic treatment.
Product details
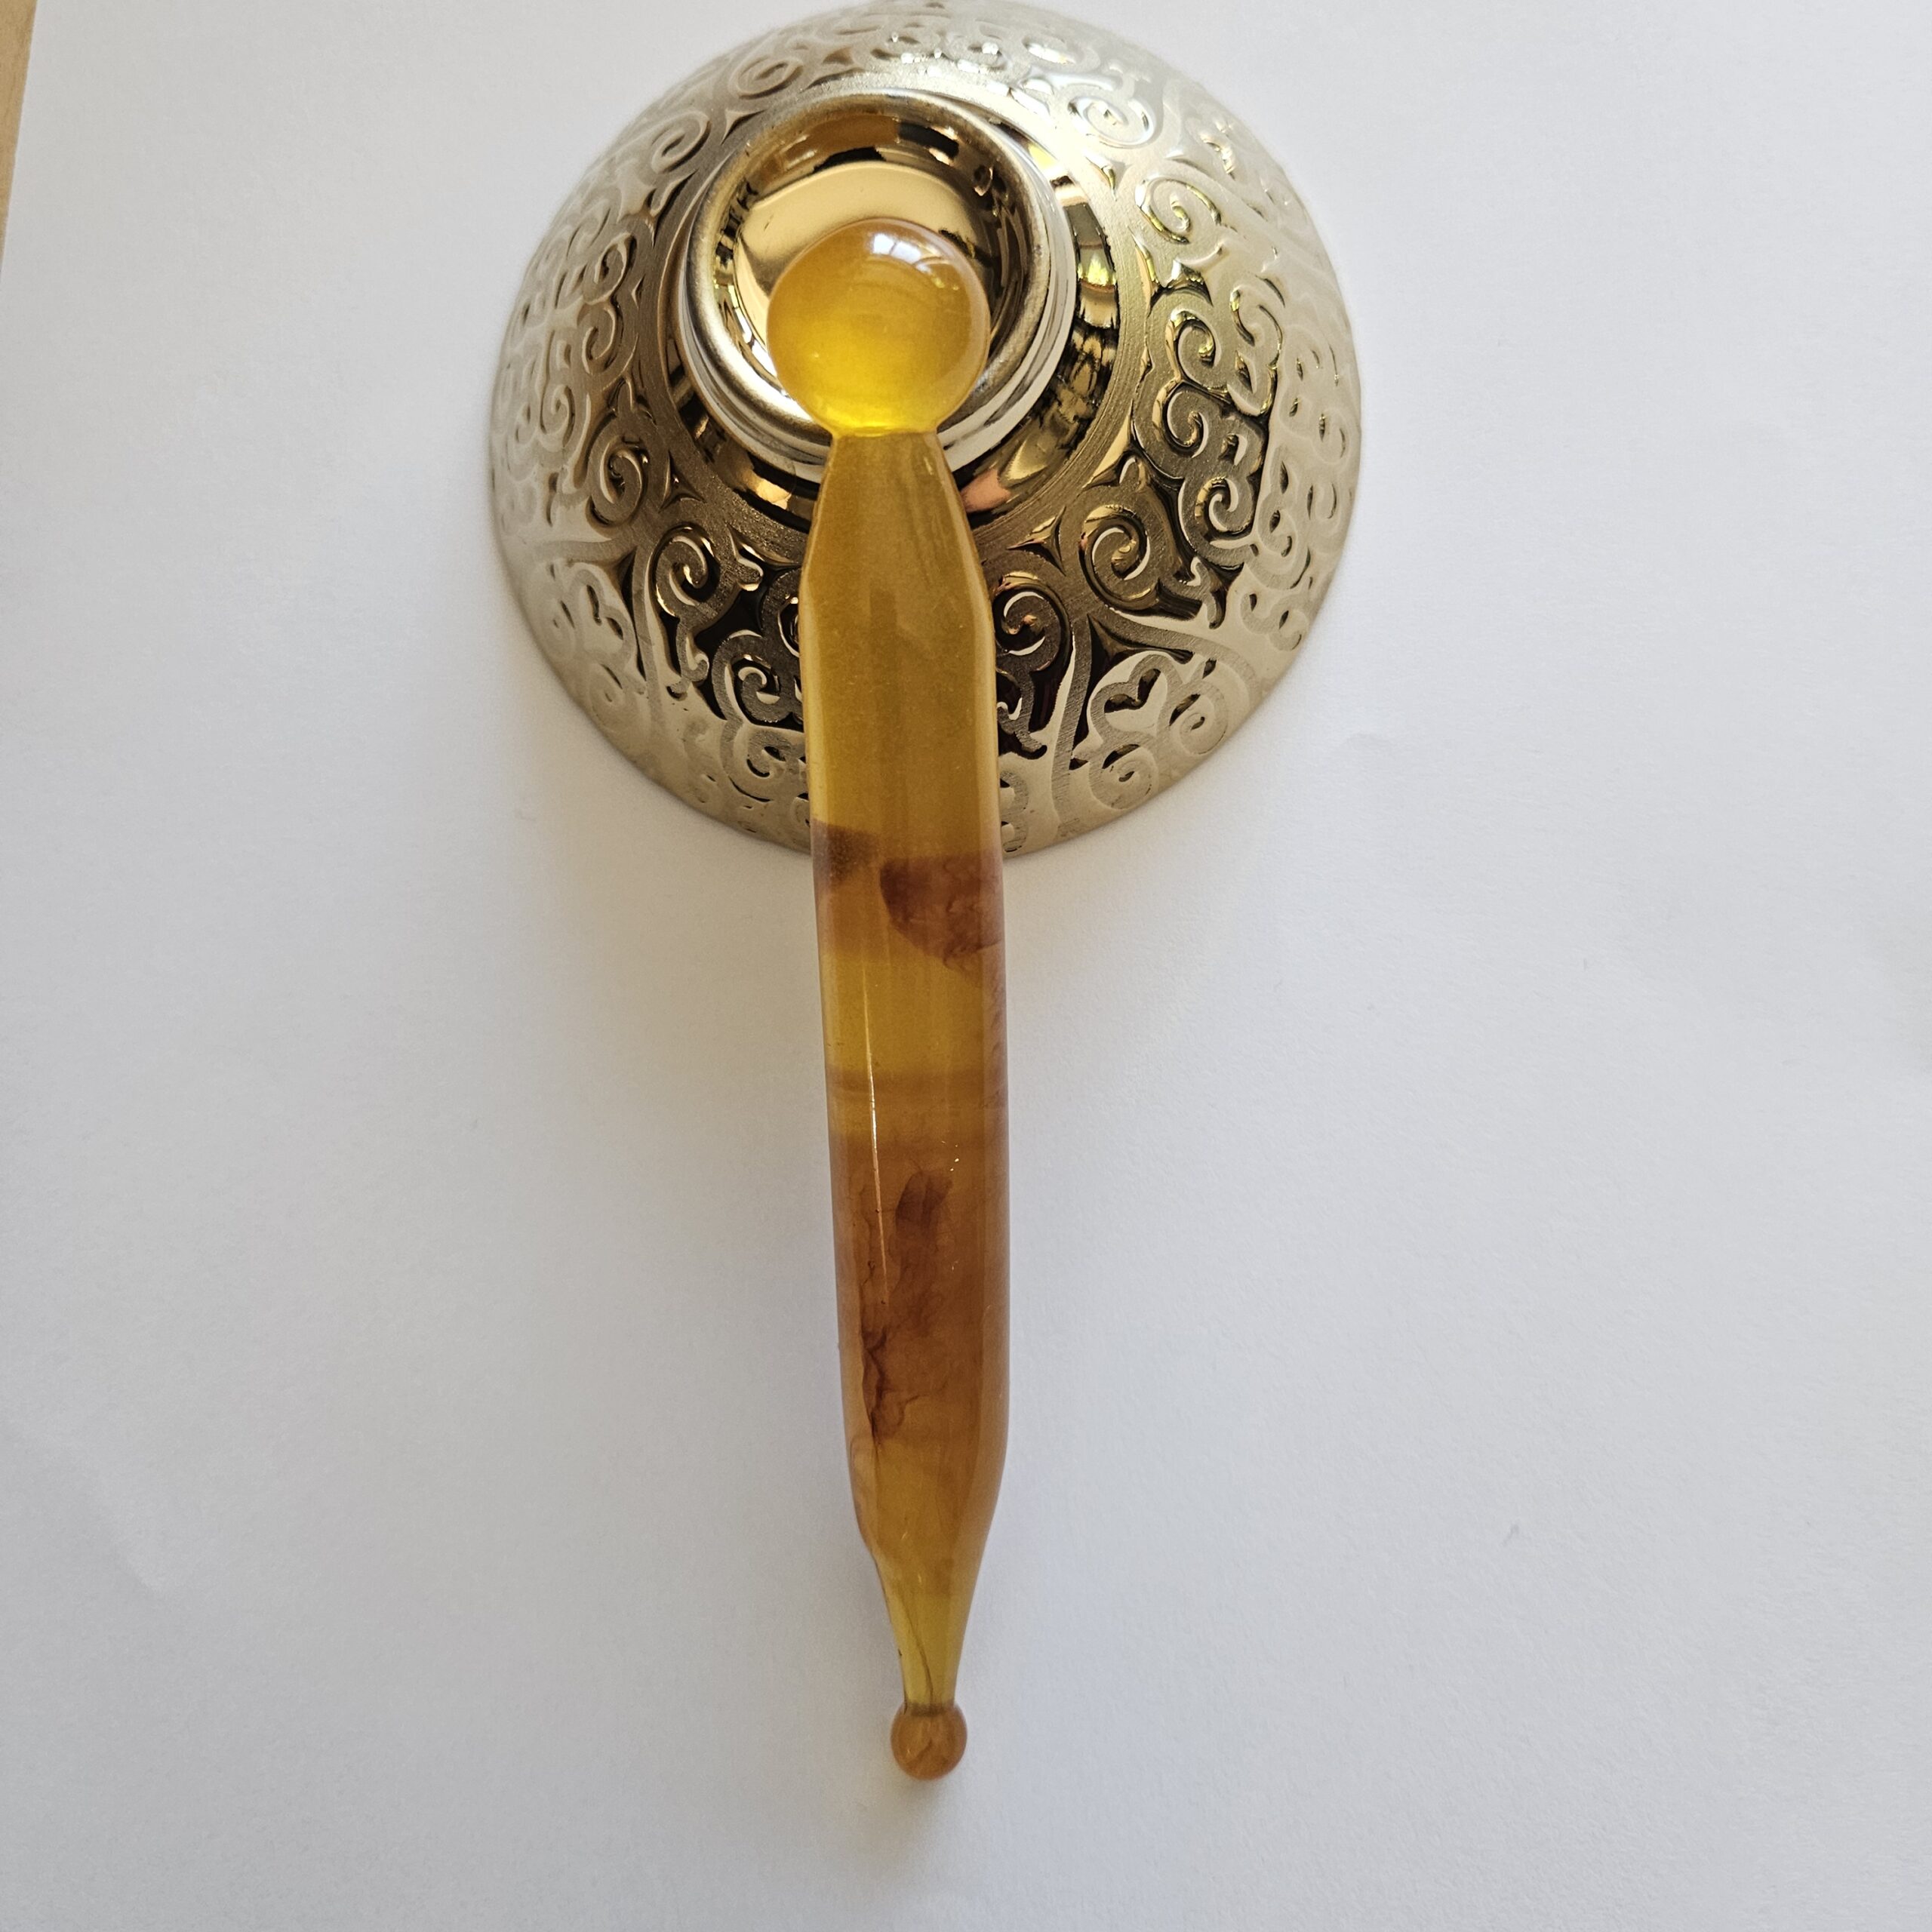
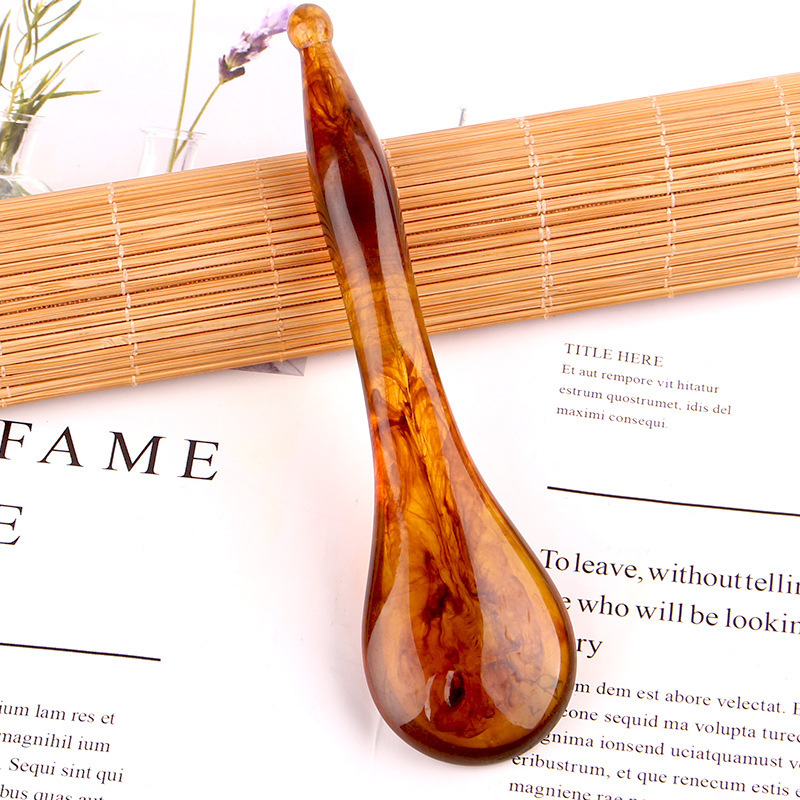
Material: polished resin with an amber-inspired appearance.
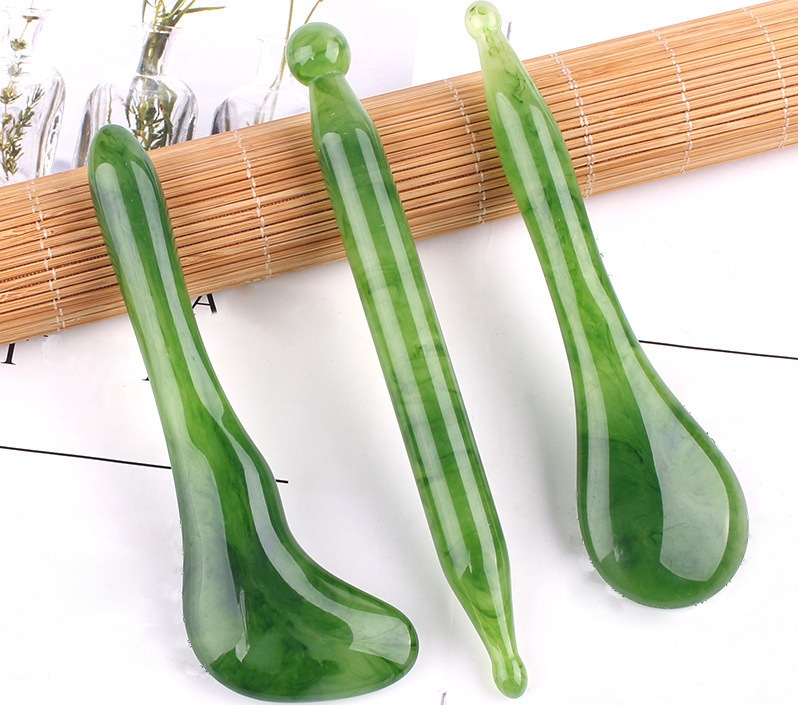
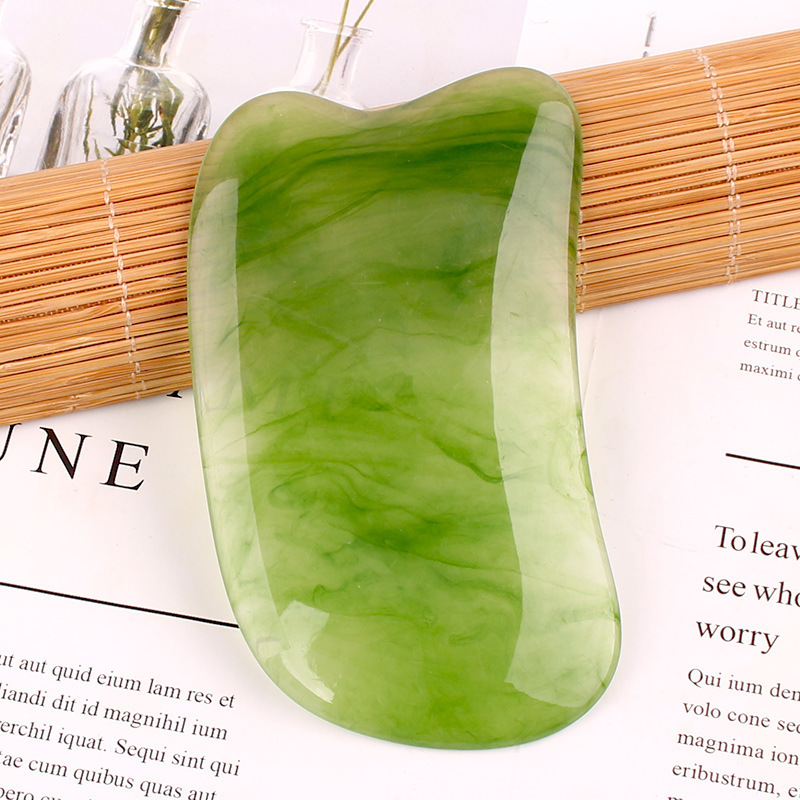
Options: Orange or Green color selection; Type 1–9 shapes, subject to stock.
Care: Hand wash with mild soap and lukewarm water. Do not boil, microwave, freeze or use harsh solvents.
Please note: Resin color, marbling and translucency can vary slightly between pieces and screens.
Good to know before you begin.
Is this the same as a flat gua sha board?
The massage principle is similar, but this wand format offers a narrower grip and more focused contact for detailed areas.
How often should I use it?
Start with two or three short sessions per week. Adjust only if your skin remains calm and comfortable.
Can it remove dark circles or permanently change my face shape?
No cosmetic massage tool can promise permanent structural change or treat the causes of dark circles. A gentle routine may help the skin look temporarily refreshed and can provide a relaxing self-care experience.
Do I need skincare with it?
Yes. Apply enough compatible serum, cream or oil to provide slip and avoid pulling delicate skin.
What is an ergonomic gua sha wand used for?
Additional information
| Weight | N/A |
|---|---|
| color | Orange, Green, Amber & Honeycomb Resin Gua Sha Wand |
| Type | type 1, type2, type3, type4, type5, type 6, type7, type8, type9 |
Related products
-
Resin Scraping Stick
$6.99 Select options This product has multiple variants. The options may be chosen on the product page -
Resin Scalp Massage Comb for Daily Head Care
$6.99 Select options This product has multiple variants. The options may be chosen on the product page -
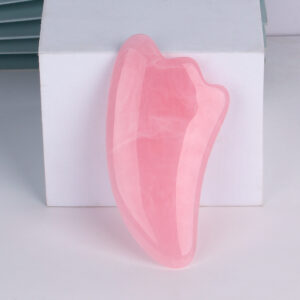
Amber Resin Gua Sha Massage Tool | Face & Body Ritual
$6.99 Select options This product has multiple variants. The options may be chosen on the product page
Reviews
There are no reviews yet.